Robot Vacuum Maintenance
Complete guide to robot vacuum maintenance. Proper care extends lifespan and ensures optimal performance of your robot.
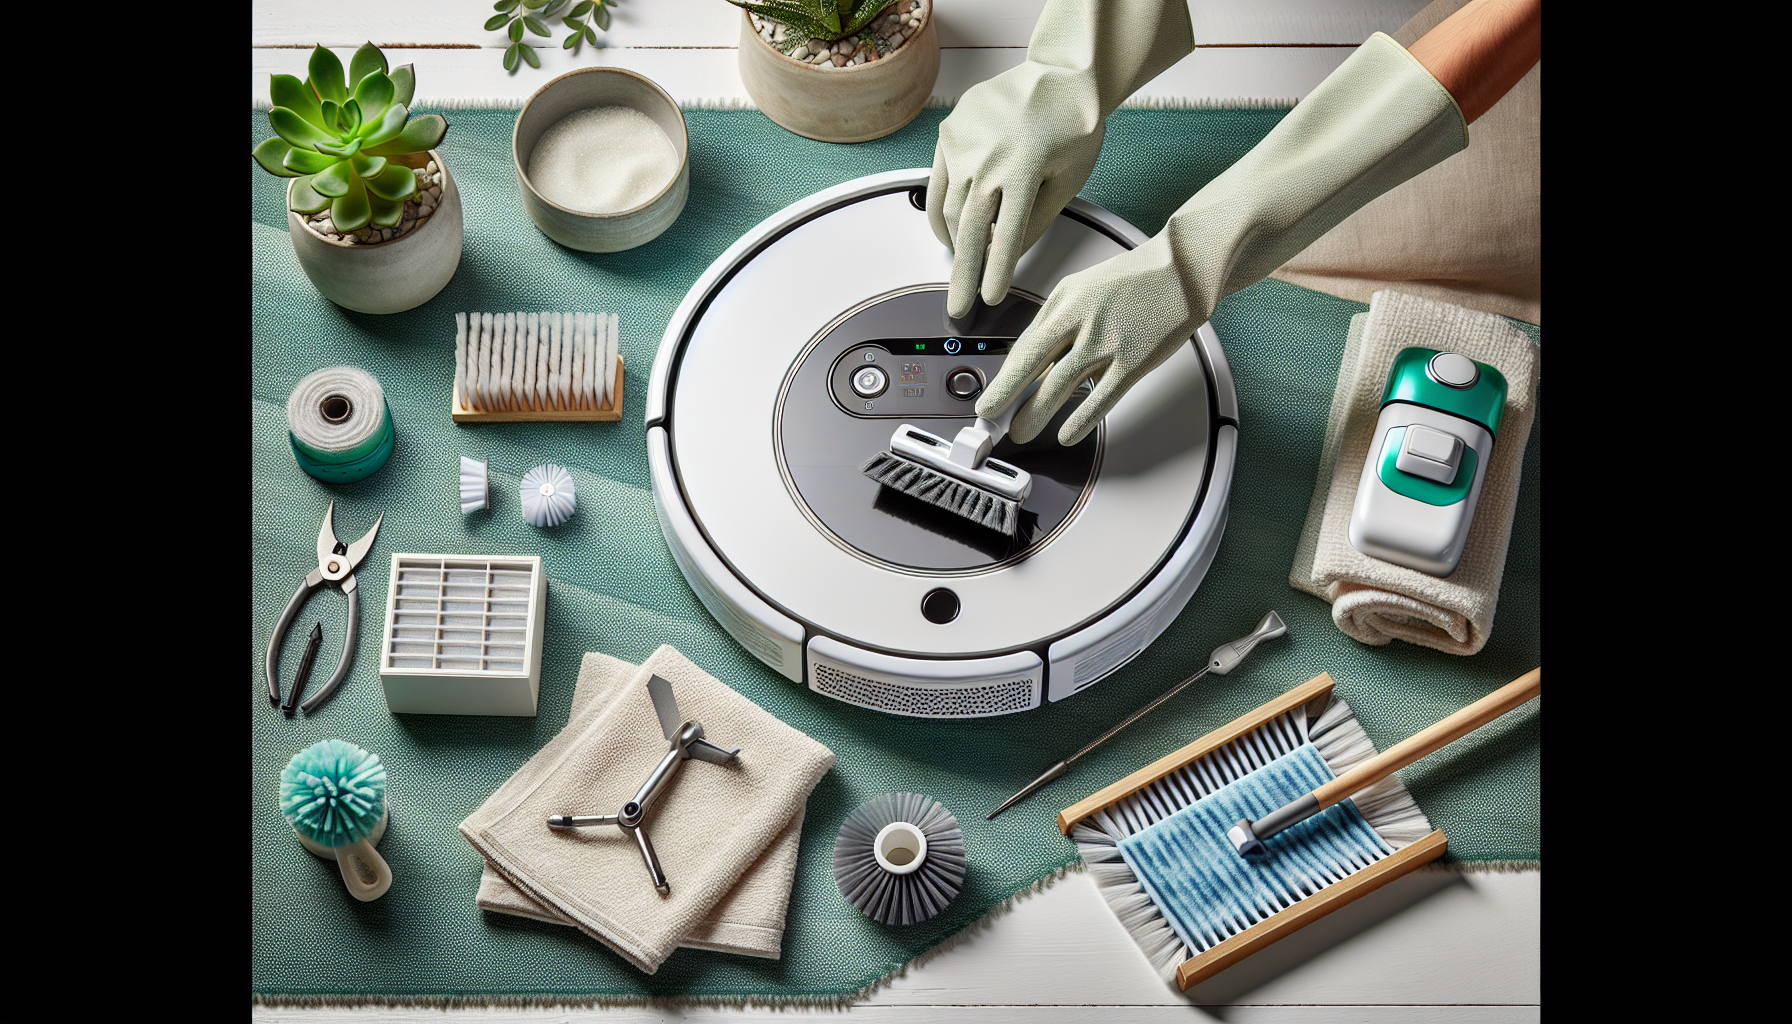
1. Daily Maintenance
Daily care takes just a few minutes but significantly extends your robot's lifespan and ensures optimal suction performance.
Empty the Dustbin
Empty the dustbin after each cleaning session. Even with a self-emptying dock, check that the bin is emptying properly.
Brush Check
Quick visual inspection of main and side brushes. Remove larger debris and visibly tangled hair.
Wheel Check
Check that no large debris is caught in the wheels that could prevent the robot from moving properly.
Pet Households
If you have pets, check the brushes daily. Pet hair tangles quickly and reduces vacuuming efficiency. We also recommend more frequent filter changes.
- Daily brush check for tangled hair
- More frequent filter changes (every 2-3 months)
- Empty dustbin after every cleaning session
2. Weekly Maintenance
Once a week, give your robot more thorough care. It takes about 10-15 minutes but significantly impacts cleaning quality.
Main Brush
Remove brush and use scissors to remove tangled hair. Clean the bearings.
Side Brushes
Unscrew side brushes and remove tangled hair. Check for damage.
Clean Filter
Remove filter and tap out. For washable filters, rinse and let dry 24h.
Clean Dustbin
Wipe dustbin with damp cloth. Check the seals.
Important Warning
Never insert a wet filter back into the robot! Moisture can damage the motor and cause mold growth. Always let the filter dry completely for at least 24 hours.
3. Monthly Maintenance
Once a month, perform complete maintenance of all robot components.
Clean Sensors
Gently wipe all sensors with a soft dry cloth – cliff sensors, bumpers, LiDAR, camera.
Charging Contacts
Clean contacts on both robot and dock with a dry cloth or cotton swab.
Clean Wheels
Turn the robot over and thoroughly clean all wheels from tangled hair and debris.
Check Wear
Inspect condition of all consumable parts and plan their replacement.
4. Mopping Maintenance
If your robot mops, this feature requires special care.
After Each Mopping
Empty remaining water, remove and rinse the mopping pad, let it dry.
Weekly Mop Maintenance
Rinse tank, wash pads in machine (40°C, no softener), clean seals.
Self-Cleaning Docks
Regularly empty dirty water, clean inside the dock, refill clean water.
5. Consumable Replacement
Regular replacement of consumable parts is key to maintaining robot performance.
| Consumable Part | Replacement Interval | Signs of Wear |
|---|---|---|
| HEPA Filter | 2-6 months | Reduced suction, odor, visible damage |
| Main Brush | 6-12 months | Worn bristles, noise, reduced efficiency |
| Side Brushes | 3-6 months | Bent or missing bristles |
| Mopping Pads | 1-3 months | Loss of absorbency, permanent stains |
| Dust Bags | 1-2 months | Full bag, app indicator |
| Battery | 2-3 years | Significantly shorter runtime, unexpected shutdowns |
Original vs. Alternative Parts
Buy original replacement parts directly from the manufacturer. Cheap alternatives can damage the robot and shorten its lifespan.
- Original parts have guaranteed compatibility
- Cheap alternatives often don't match exact dimensions
- Low-quality filters can reduce suction power
- Warranty may be voided when using non-original parts
Having Issues with Your Robot?
Check out our troubleshooting guide for the most common problems.
Troubleshooting GuideMore Guides
Explore more helpful guides and tips.